We use cookies to try and give you a better experience in Freshdesk.
You can learn more about what kind of cookies we use, why, and how from our Privacy policy. If you hate cookies, or are just on a diet, you can disable them altogether too. Just note that the Freshdesk service is pretty big on some cookies (we love the choco-chip ones), and some portions of Freshdesk may not work properly if you disable cookies.
We’ll also assume you agree to the way we use cookies and are ok with it as described in our Privacy policy, unless you choose to disable them altogether through your browser.
The Workflow Router Sheet is a highly customizable template designed to offer a quick and efficient overview of a Workflow Event. It serves as a bridge between traditional manual routing procedures and the virtual/electronic Workflow within the system, populating data on the workflow event. Therefore, not all firms may require this feature, but the ability to generate the document is available within the Workflow Event. The Default Template provides an example yet the template needs to be modified before utilizing it.
This guide will walk you through the steps to view and customize the Workflow Router Sheet to ensure it meets your firm's specific needs.
Viewing and Customizing the Template:
Navigate to the Tools Menu.
Select Templates and go to the 'Workflow Templates' tab to download the file.

Access Available Variables:
Access the Variables Tab.
Select the Workflow SubTab to access the list of 'Event Variables' and 'Event Tasks' to effectively customize the Workflow Router Sheet to meet your firm's specific needs.
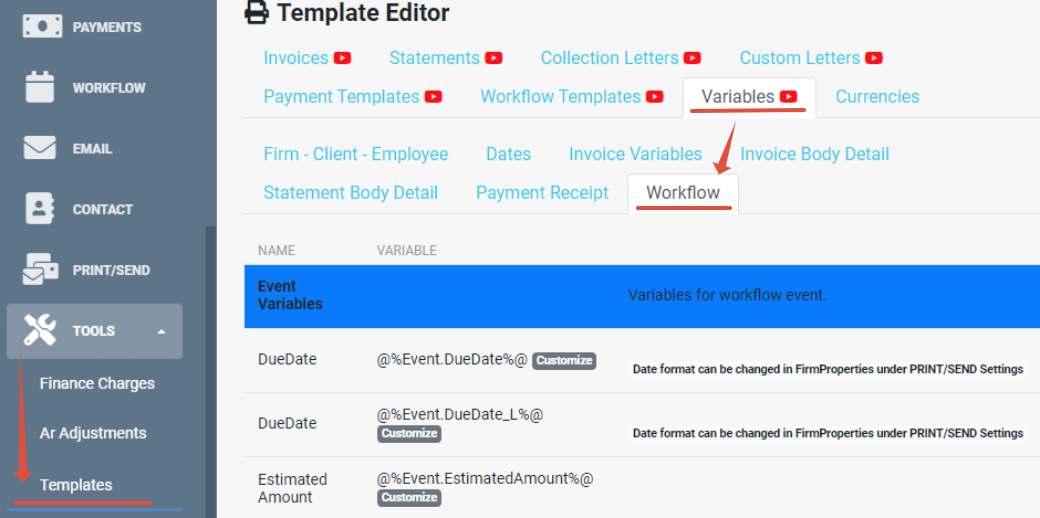
Additionally, the variables located under the 'Firm-Client-Employee', and 'Dates' SubTabs are also functional on the Workflow Router Templates.
Uploading the Modified Template:
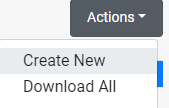
In the Templates section 'Workflow Templates' tab select Actions: Create New.
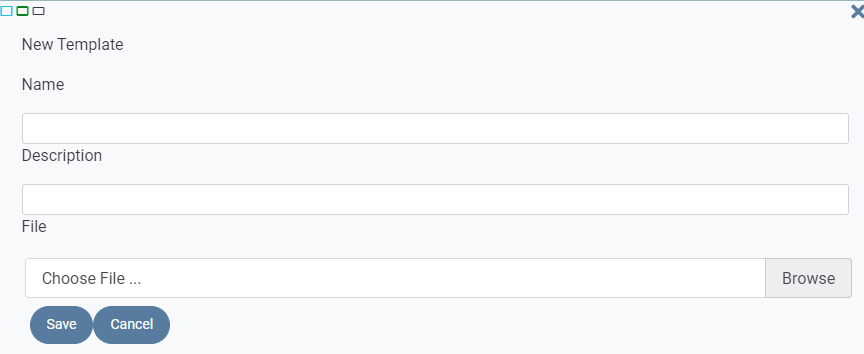
Specify Template Details: Name, provide an optional description, Browse to locate and select the modified template file, and click Save to upload the template.
Generating the Workflow Router Sheet:
Navigate to the Workflow Menu Firm View.
Choose the specific event for which you want to generate the document.
Under the Event Tab locate the option called 'More' and click 'Generate Document'.

Select the desired template to generate the Workflow Router Sheet.

The Workflow Router Sheet is designed to simplify the management of the Workflow Event tailored to fit your firm's unique project requirements.
Related Articles:
Sincerely,
axis_support@tpssoftware.com
Toll-free: 1- 888-877-2231
0 Votes
0 Comments